> ## Documentation Index
> Fetch the complete documentation index at: https://docs.supercycle.com/llms.txt
> Use this file to discover all available pages before exploring further.
# Getting started
> Get the basics of Supercycle set up, from installation to your first circular method
## Setting up the basics
Supercycle is designed to be easy to set up and use. This guide will help you get started with the basics, including installing the app, adding products, and configuring your rental methods.
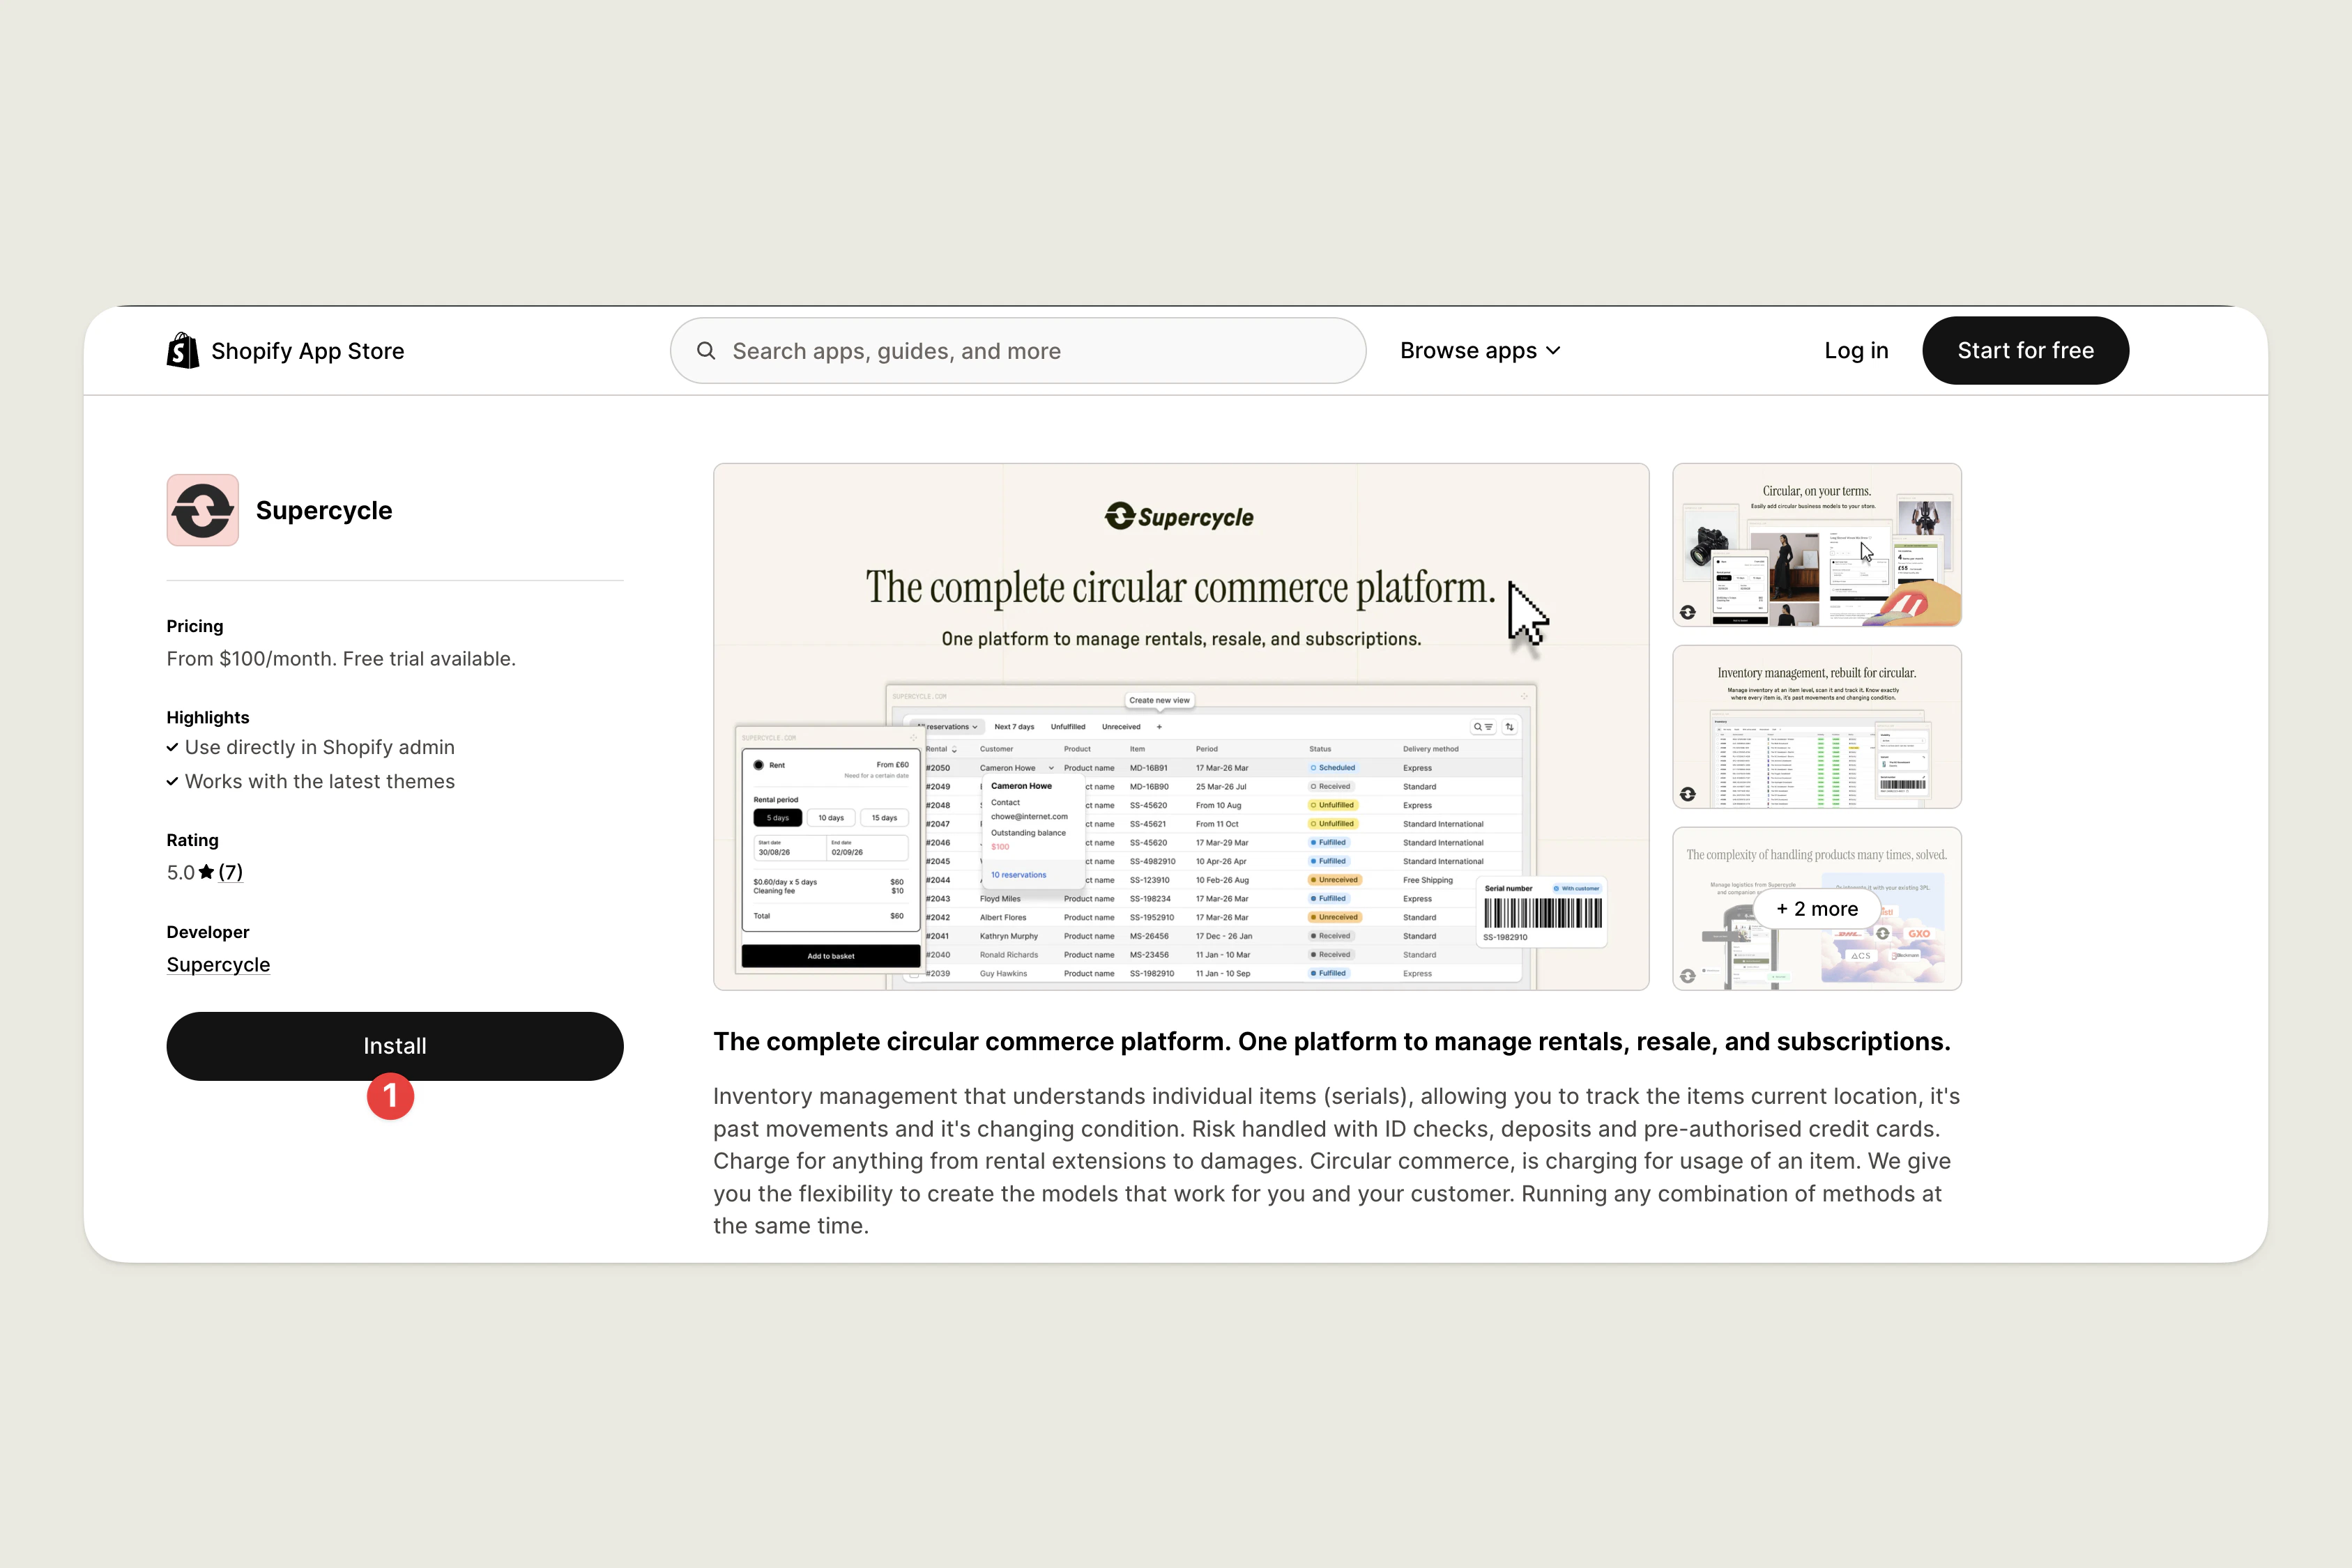
Supercycle can be installed from the [Shopify App Store](https://apps.shopify.com/supercycle).
The app is free on development stores and offers a 14 free trial for live stores.
 If your products already exist in Shopify, proceed to step 2.
Create products in Shopify from **Products > Add product**
From the Shopify products page, select the products you’d like to import.
Under bulk actions, scroll down to the bottom and select **Include in Supercycle** under **APPS**.
In the next page, confirm your import.
In Shopify Admin, head to **Supercycle** > [**Products**](https://admin.shopify.com/apps/supercycle/products/) > **Product**.
If your products already exist in Shopify, proceed to step 2.
Create products in Shopify from **Products > Add product**
From the Shopify products page, select the products you’d like to import.
Under bulk actions, scroll down to the bottom and select **Include in Supercycle** under **APPS**.
In the next page, confirm your import.
In Shopify Admin, head to **Supercycle** > [**Products**](https://admin.shopify.com/apps/supercycle/products/) > **Product**.
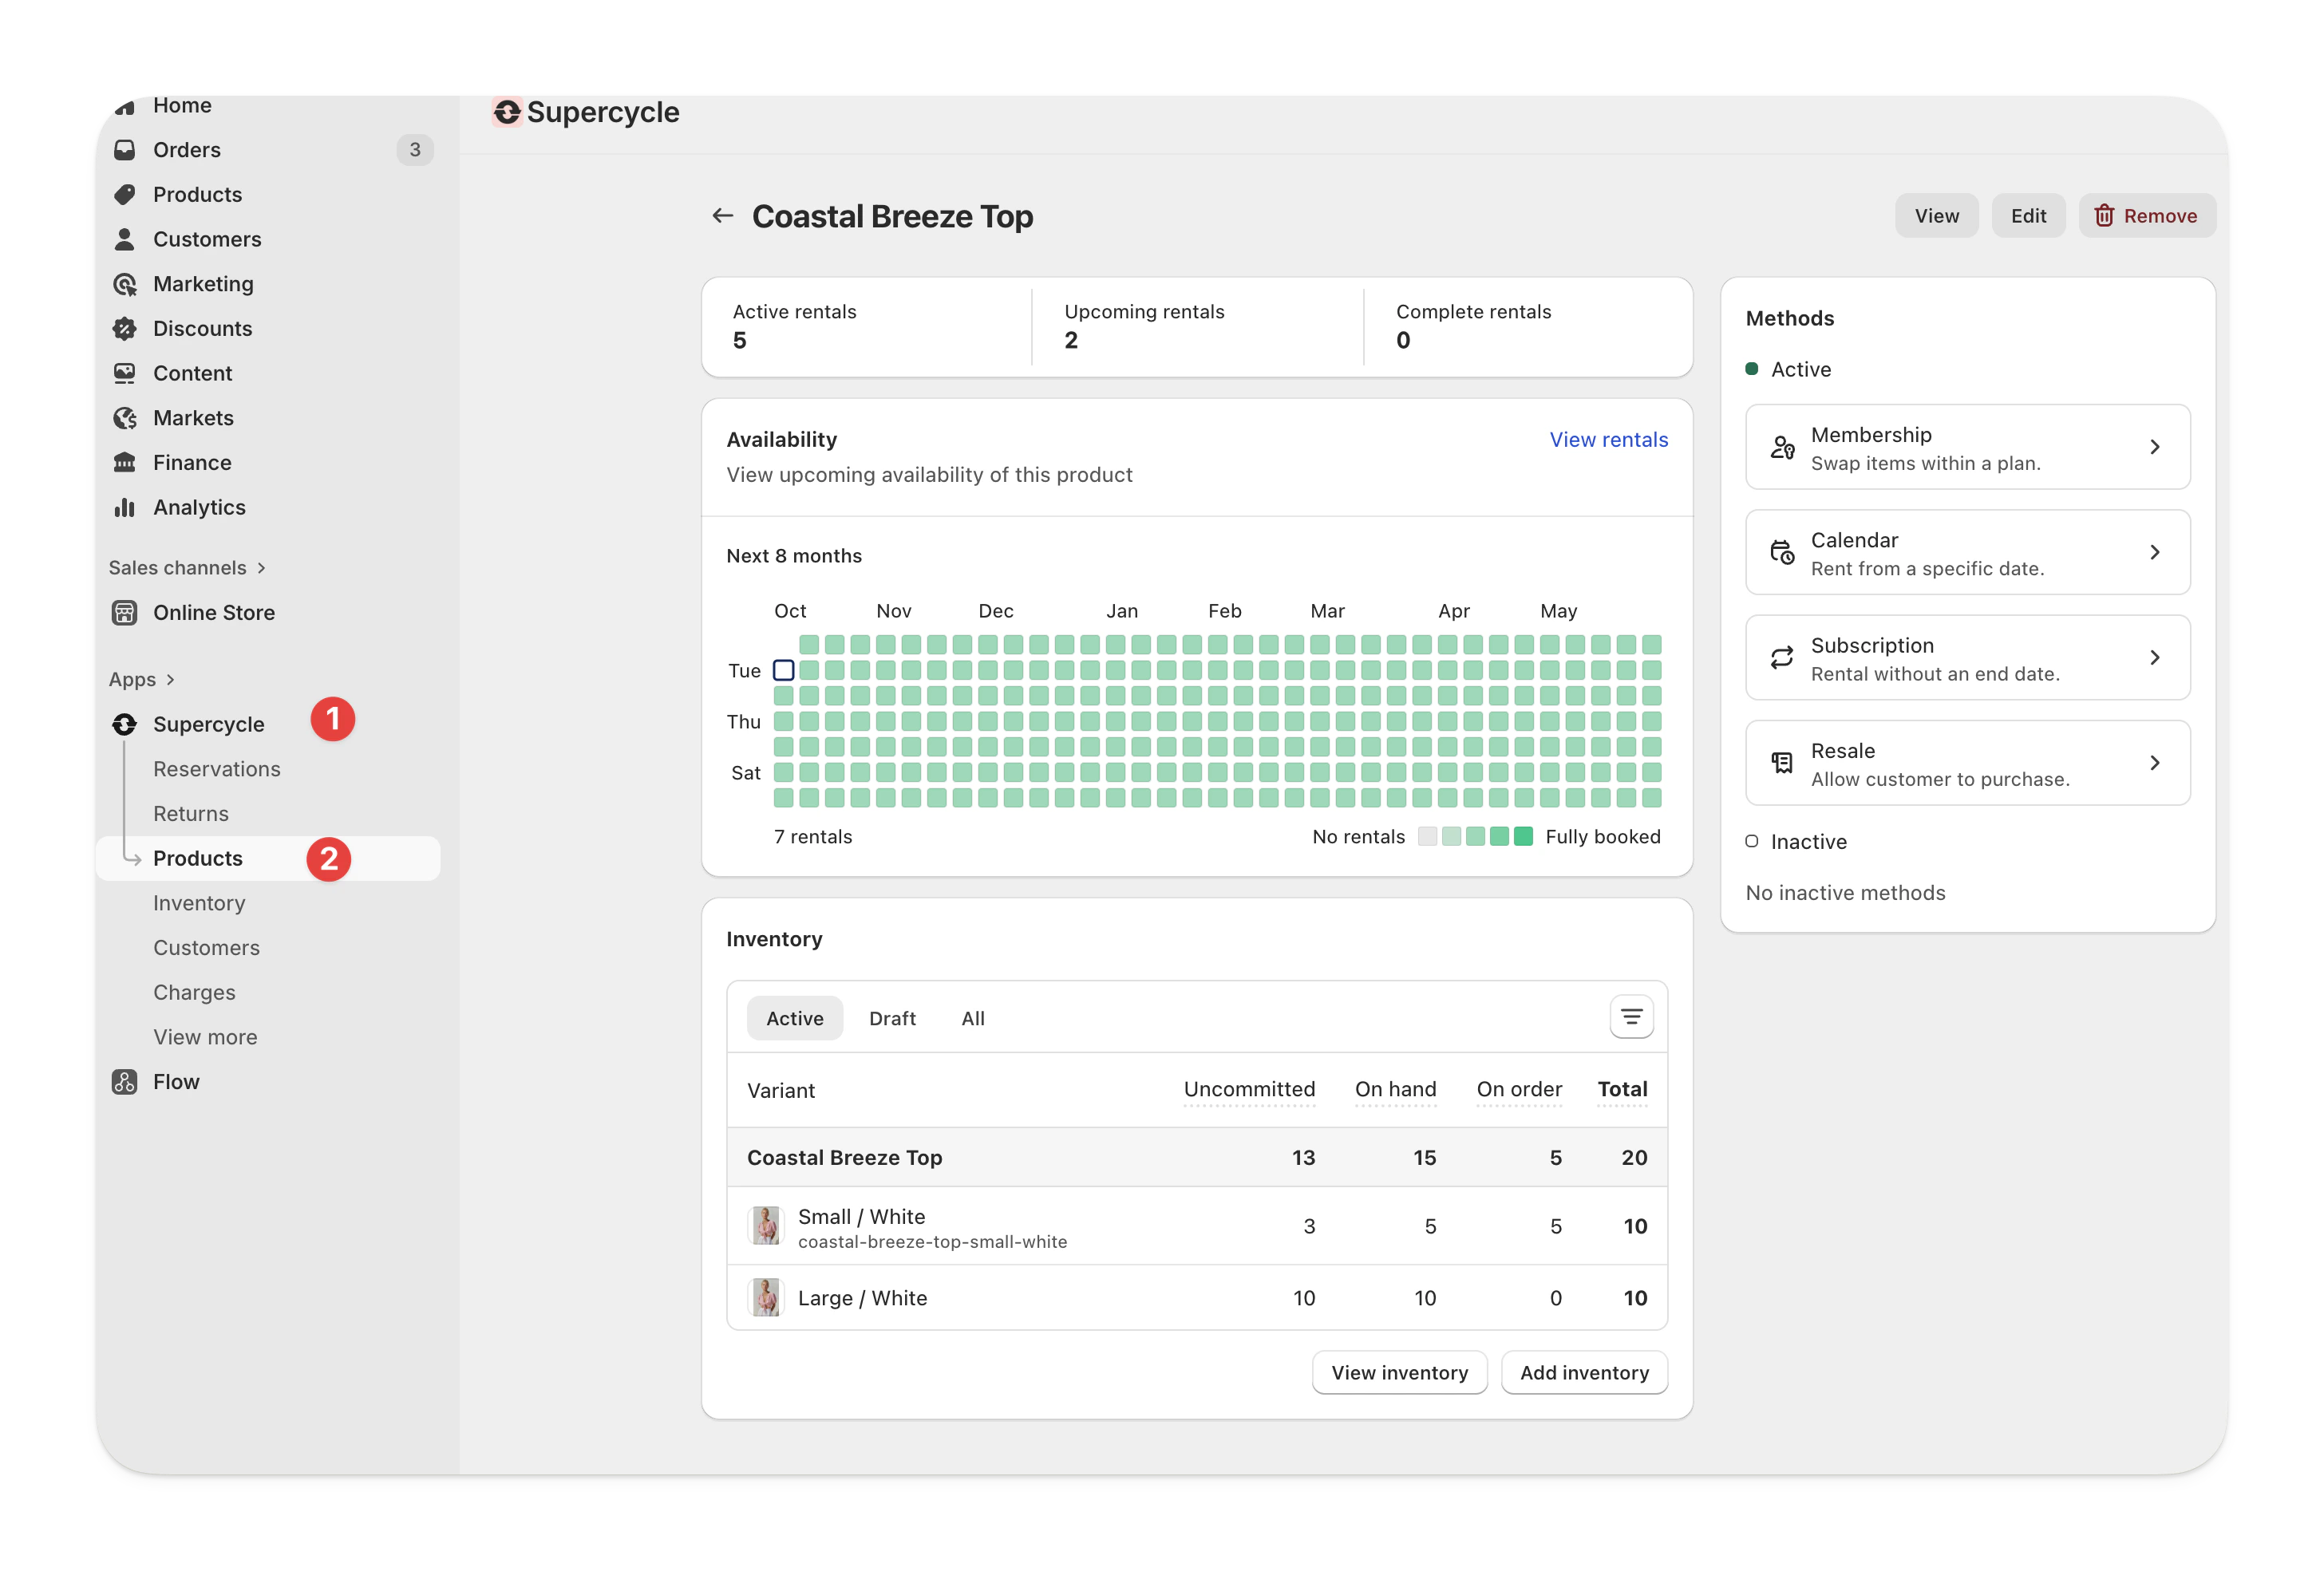 In the variants table, under the status you want to add a product, select the current quantity dropdown followed by **Add inventory**.
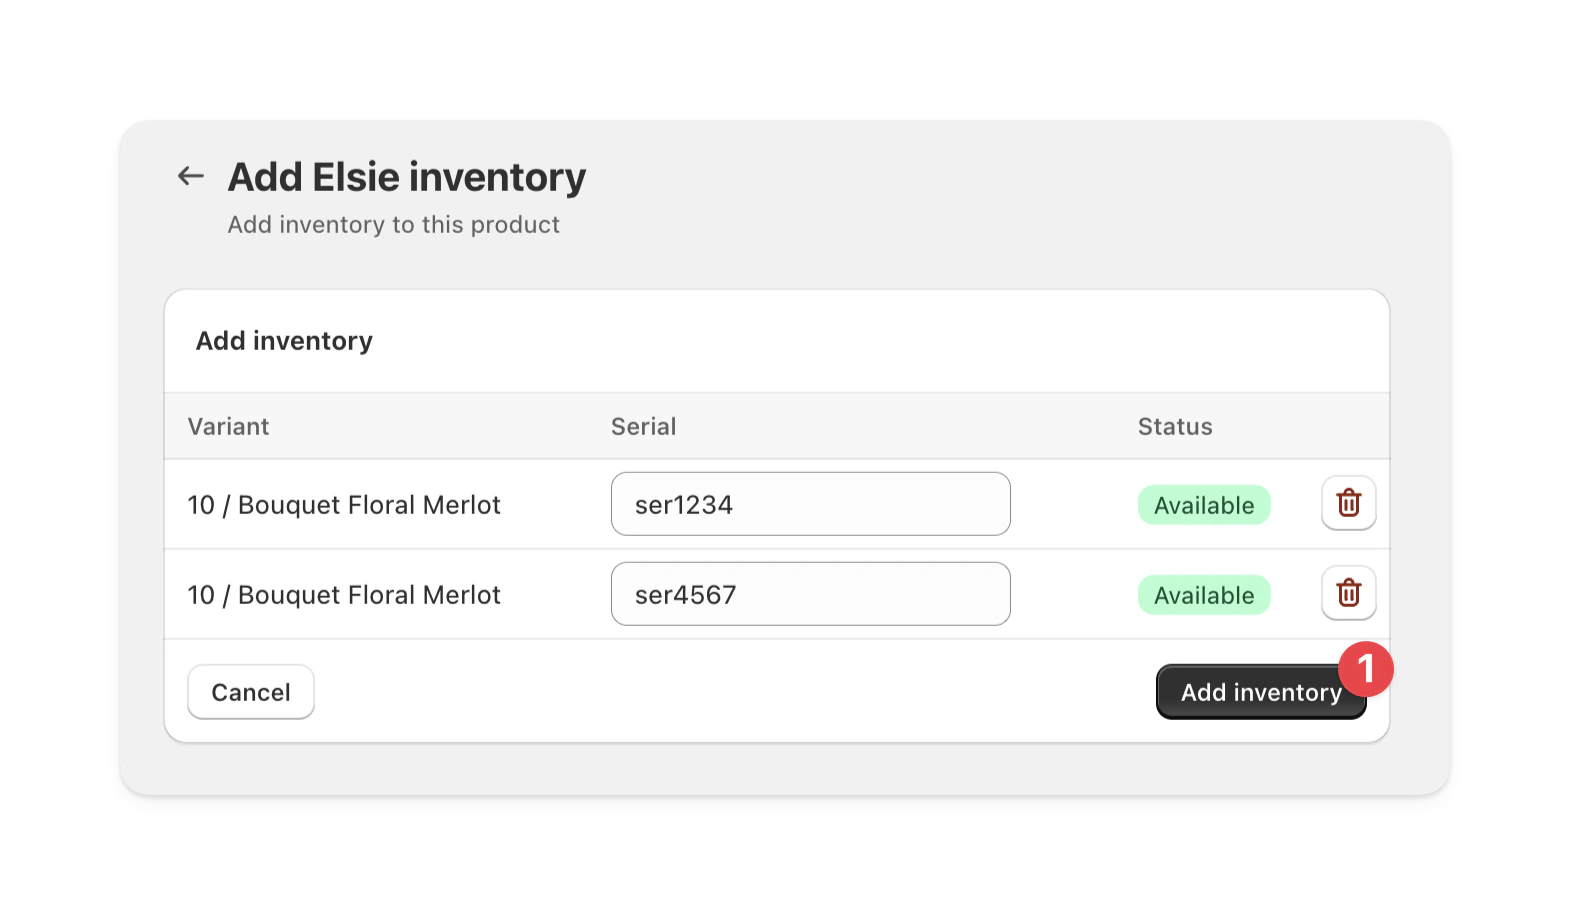
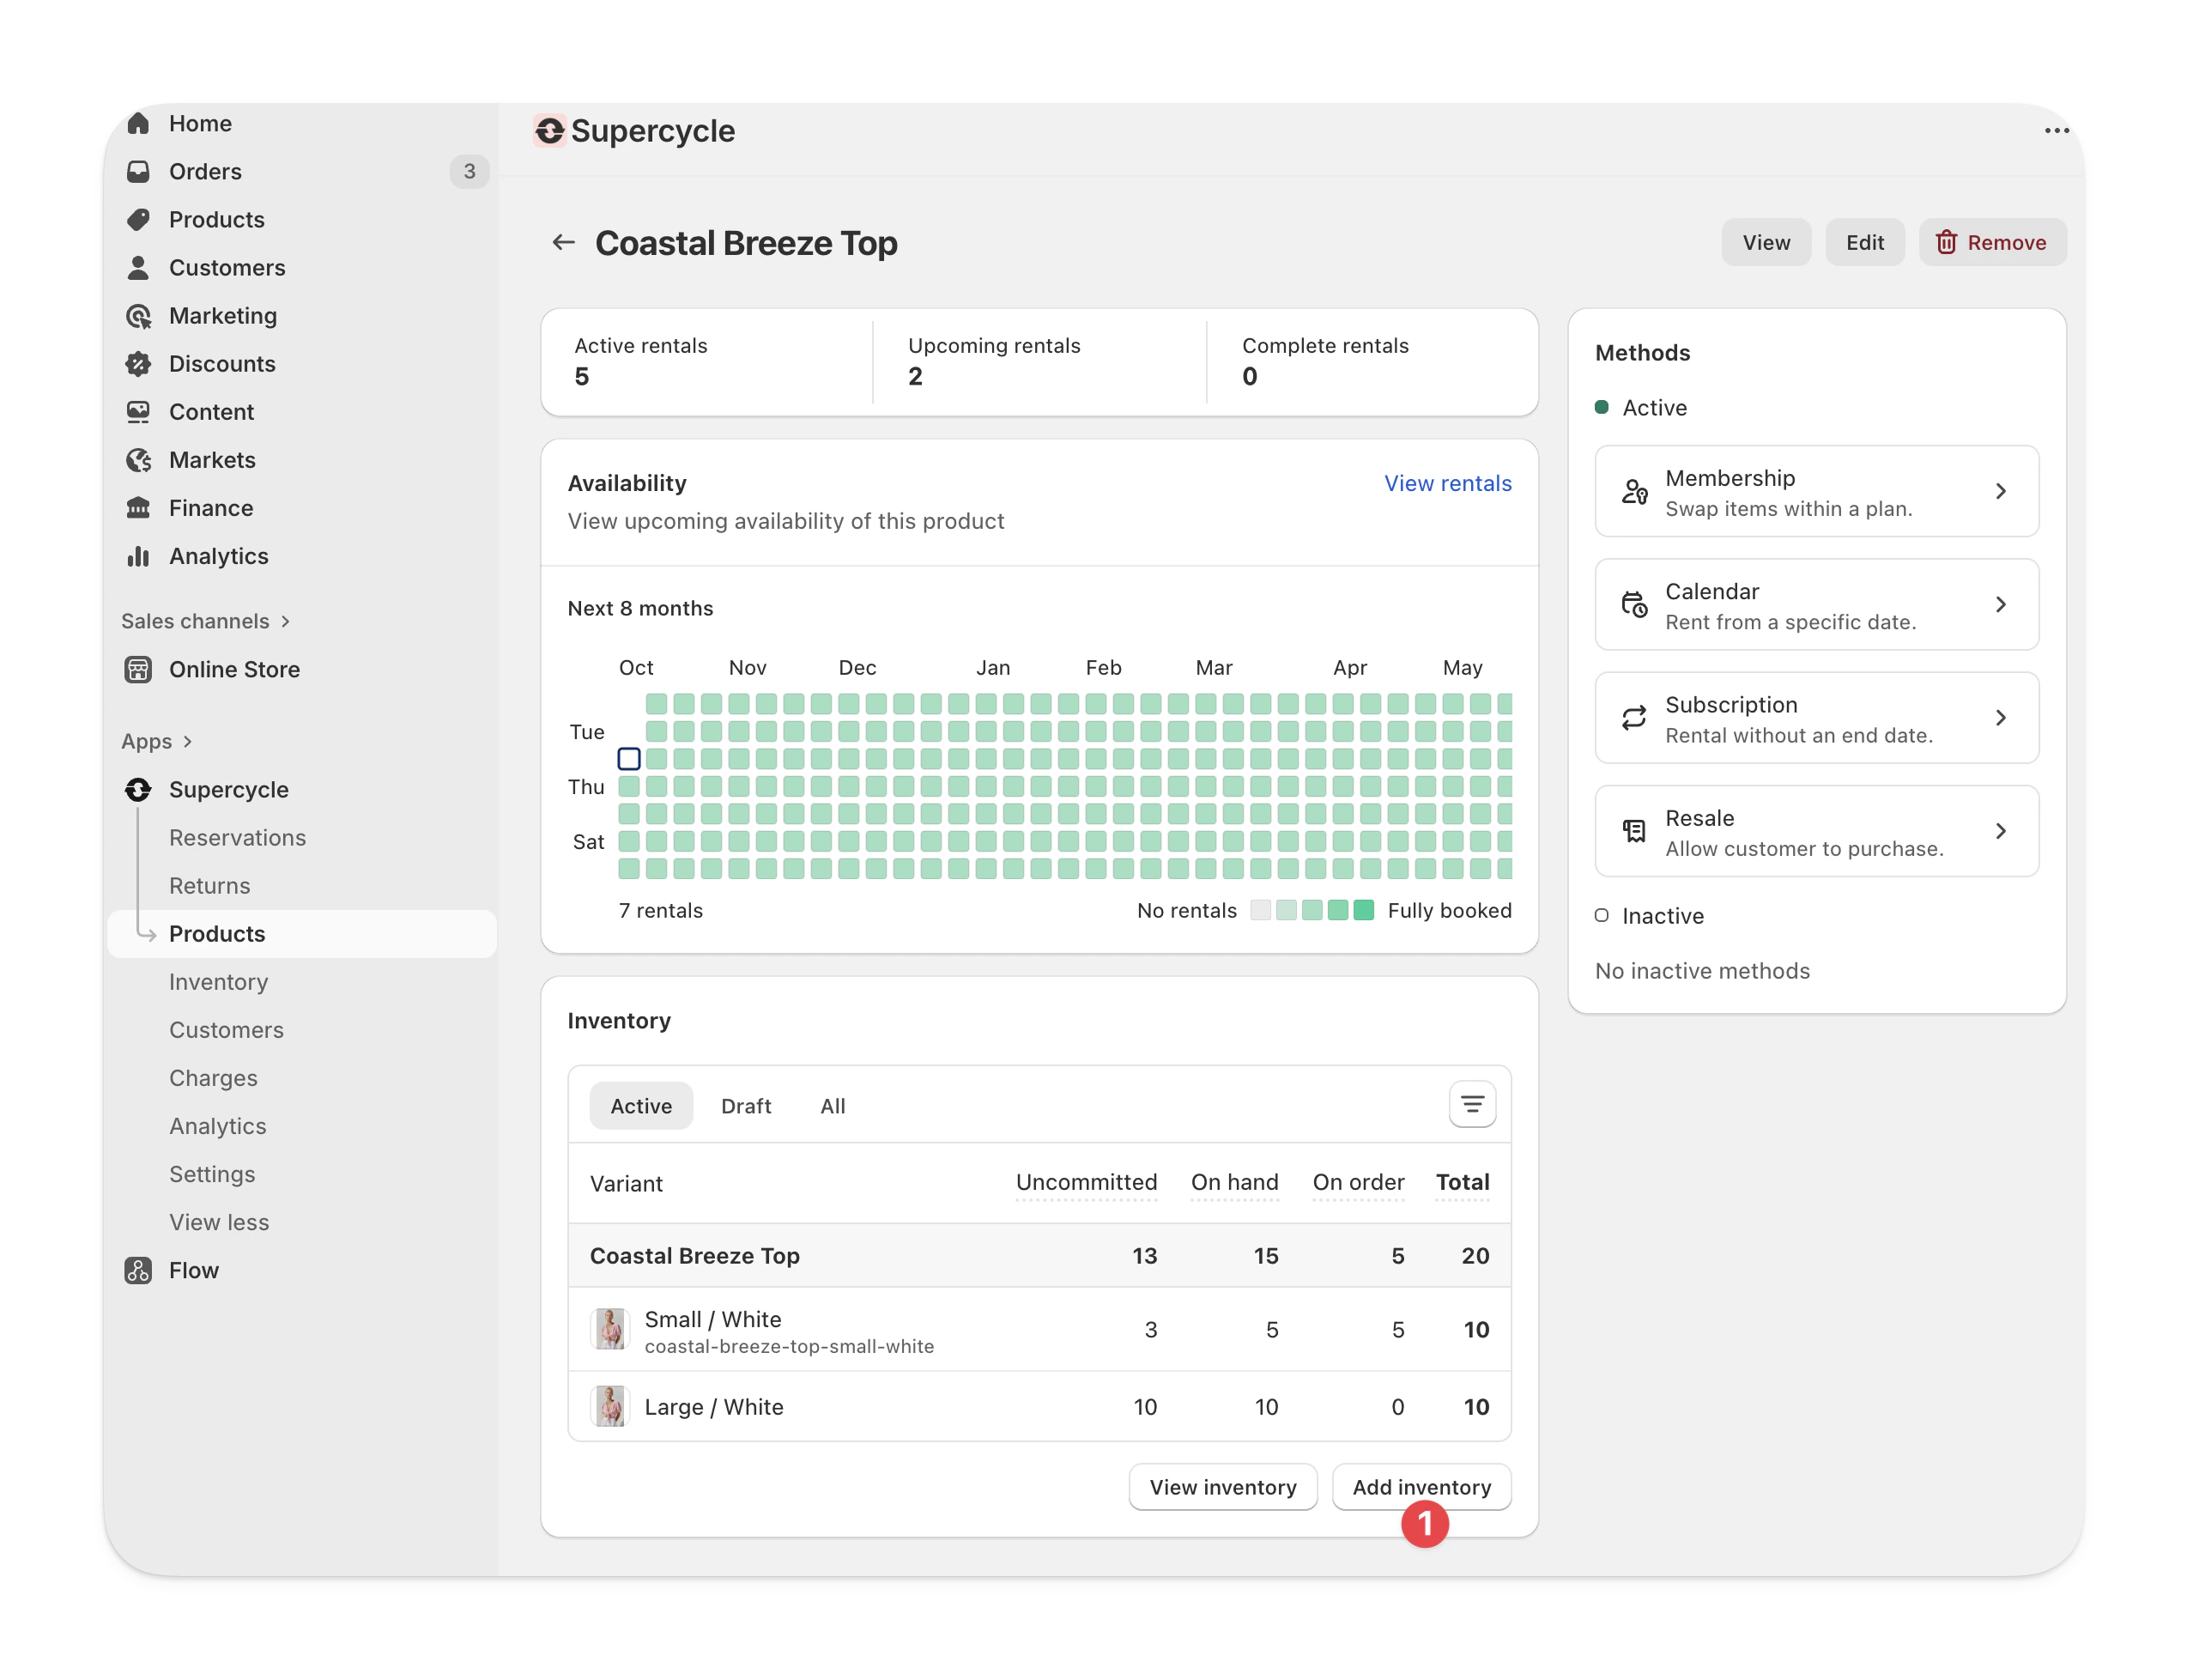 On the next page, add a serial number on a new line for each item you’d like to create.
Alternatively, select **Add without serials** and enter a number of items. You can add serials to the newly created items later from their item page.
On the next page, add a serial number on a new line for each item you’d like to create.
Alternatively, select **Add without serials** and enter a number of items. You can add serials to the newly created items later from their item page.
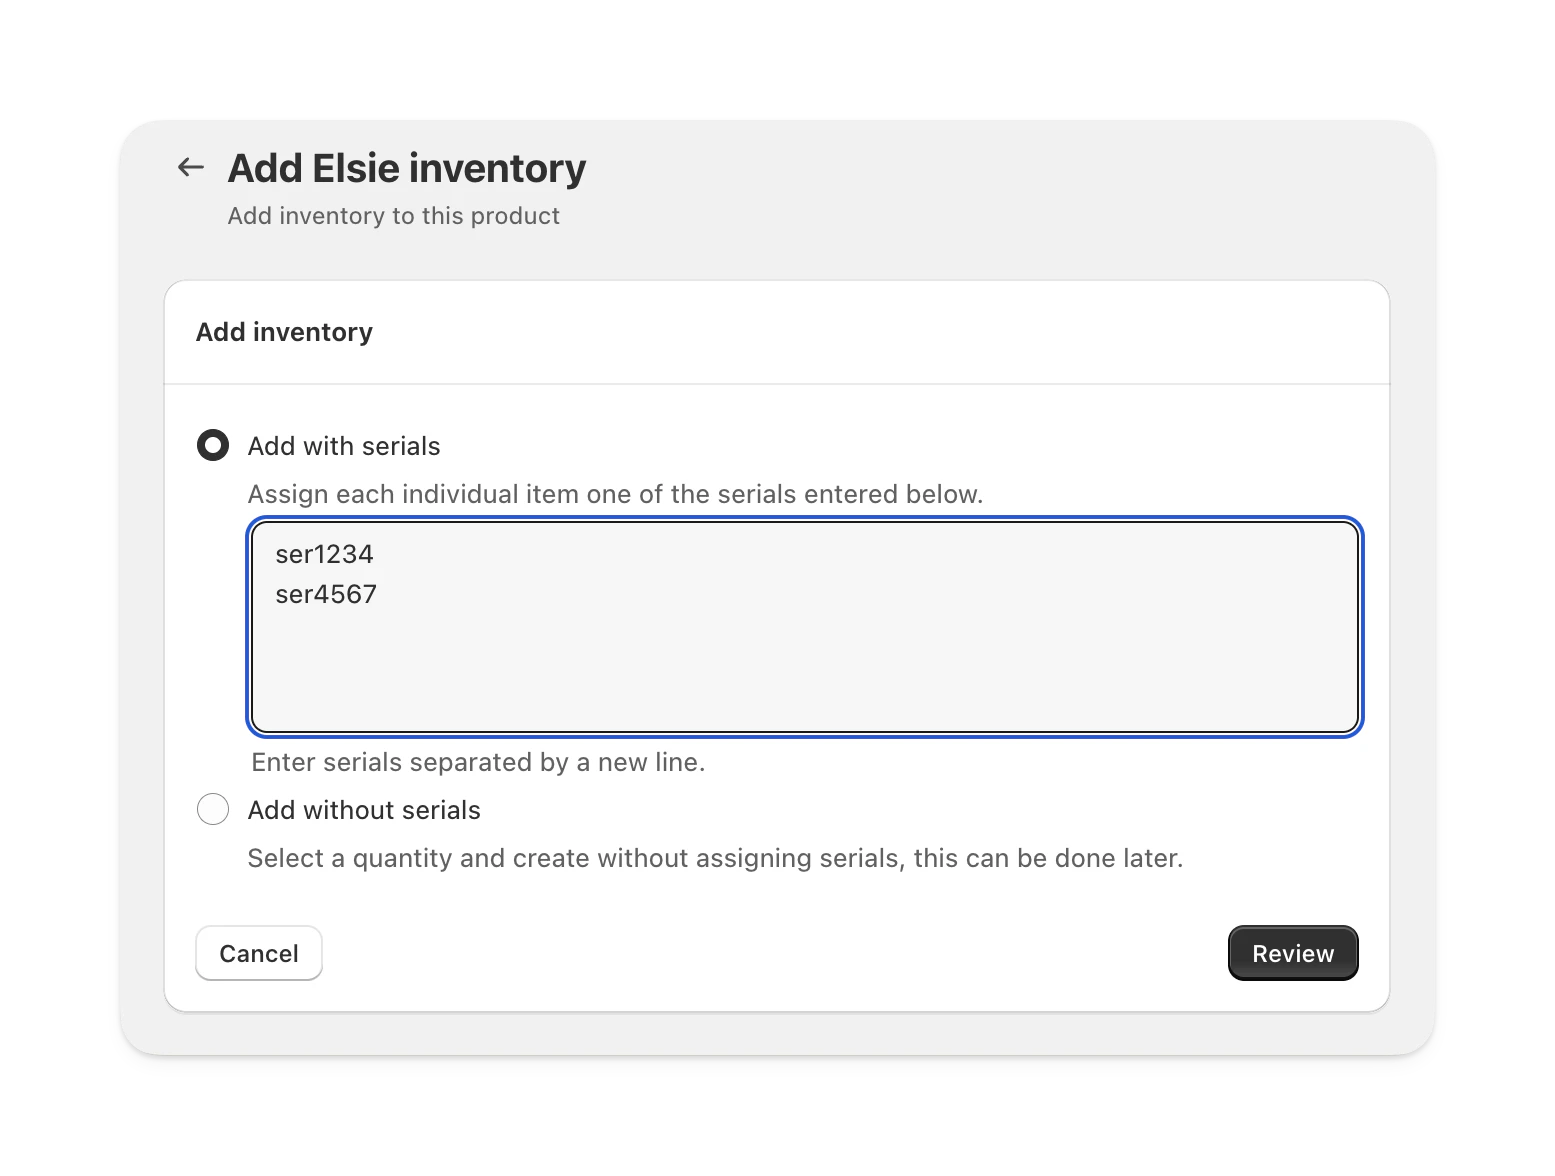 Click **Review** to continue.
Review the items you’re about to add and click **Add inventory** to complete.
Click **Review** to continue.
Review the items you’re about to add and click **Add inventory** to complete.
 In your Shopify admin, navigate to **Supercycle** > **Products**.
Select the product you want to set up.
On the right hand side, select the method you want to enable.
Click 'Turn on' for the method you want to enable.
Configure the rental periods or pricing groups depending on your method.
Click 'Save'.
In your Shopify admin, navigate to **Sales channels > Online Store.**
Click '**Customize**' on your chosen theme.
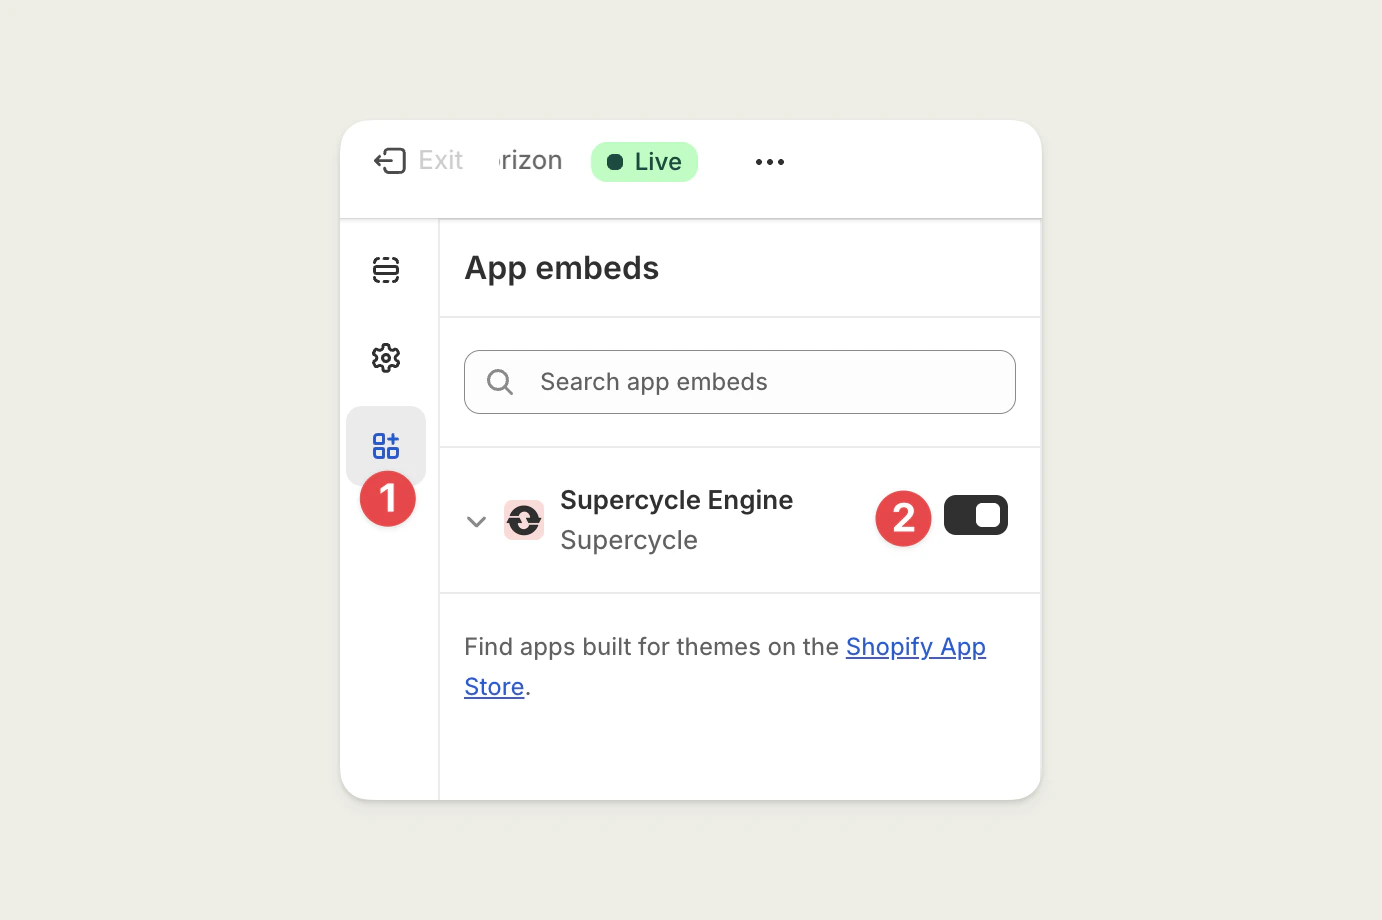
On the top-left, select 'App embeds'.
Enable '**Supercycle Engine**'.
In your Shopify admin, navigate to **Supercycle** > **Products**.
Select the product you want to set up.
On the right hand side, select the method you want to enable.
Click 'Turn on' for the method you want to enable.
Configure the rental periods or pricing groups depending on your method.
Click 'Save'.
In your Shopify admin, navigate to **Sales channels > Online Store.**
Click '**Customize**' on your chosen theme.
On the top-left, select 'App embeds'.
Enable '**Supercycle Engine**'.
 ## More advanced
[Checkout rules](/documentation/configuration/checkout/checkout-rules) help you ensure that customers can only add items to their cart that are available for the selected rental method and period. This is especially useful if you have multiple methods enabled for a product.
These can be enabled in your Shopify admin under **Settings > Checkout > Checkout rules > Add rule**.
The customer portal is a self-service area where customers can manage their orders, view their rental history, and update their personal information.
For guidance on setting up the customer portal, please refer to the [Customer portal documentation](/documentation/online-store/portal).
## More advanced
[Checkout rules](/documentation/configuration/checkout/checkout-rules) help you ensure that customers can only add items to their cart that are available for the selected rental method and period. This is especially useful if you have multiple methods enabled for a product.
These can be enabled in your Shopify admin under **Settings > Checkout > Checkout rules > Add rule**.
The customer portal is a self-service area where customers can manage their orders, view their rental history, and update their personal information.
For guidance on setting up the customer portal, please refer to the [Customer portal documentation](/documentation/online-store/portal).